Archives
- Newer posts
- April 2026
- November 2025
- October 2025
- September 2025
- August 2025
- July 2025
- June 2025
- May 2025
- November 2024
- April 2024
- November 2023
- October 2023
- August 2023
- May 2023
- February 2023
- October 2022
- August 2022
- July 2022
- May 2022
- April 2022
- March 2022
- February 2022
- June 2020
- March 2020
- February 2020
- January 2020
- December 2019
- November 2019
- October 2019
- September 2019
- August 2019
- July 2019
- June 2019
- May 2019
- April 2019
- March 2019
- February 2019
- January 2019
- December 2018
- November 2018
- October 2018
- September 2018
- August 2018
- July 2018
- June 2018
- May 2018
- April 2018
- March 2018
- February 2018
- January 2018
- December 2017
- November 2017
- October 2017
- September 2017
- August 2017
- July 2017
- June 2017
- May 2017
- April 2017
- March 2017
- February 2017
- January 2017
- August 2016
- June 2016
- April 2016
- March 2016
- February 2016
- January 2016
- July 2015
- June 2015
- Older posts

Use React.js with ASP.NET
REACT! By now most of you must be familiar with this word. Must have heard it or even used it before to develop your applications. Today we will discuss how to get started with React.js in ASP.NET MVC.
As you all know React is a JavaScript library used to build UI and the top feature of React is SPEED. A new ReactJs.Net package “React.Web.Mvc4” is released to use React and JSX in .Net applications. JSX is JavaScript XML syntax extension.
React also can be used with Web forms applications and non-web applications along with MVC applications.
We will go through the steps to create an ASP.NET MVC web application. So, let’s get started.
:
Create a New Asp.net Mvc Application Using React
Let’s create a simple application to display the message “Hello World! React with ASP.NET MVC”.
1. Open Visual Studio and click the “create a new project” option under “Getting started”.
2. A popup opens to select the project template as shown below:
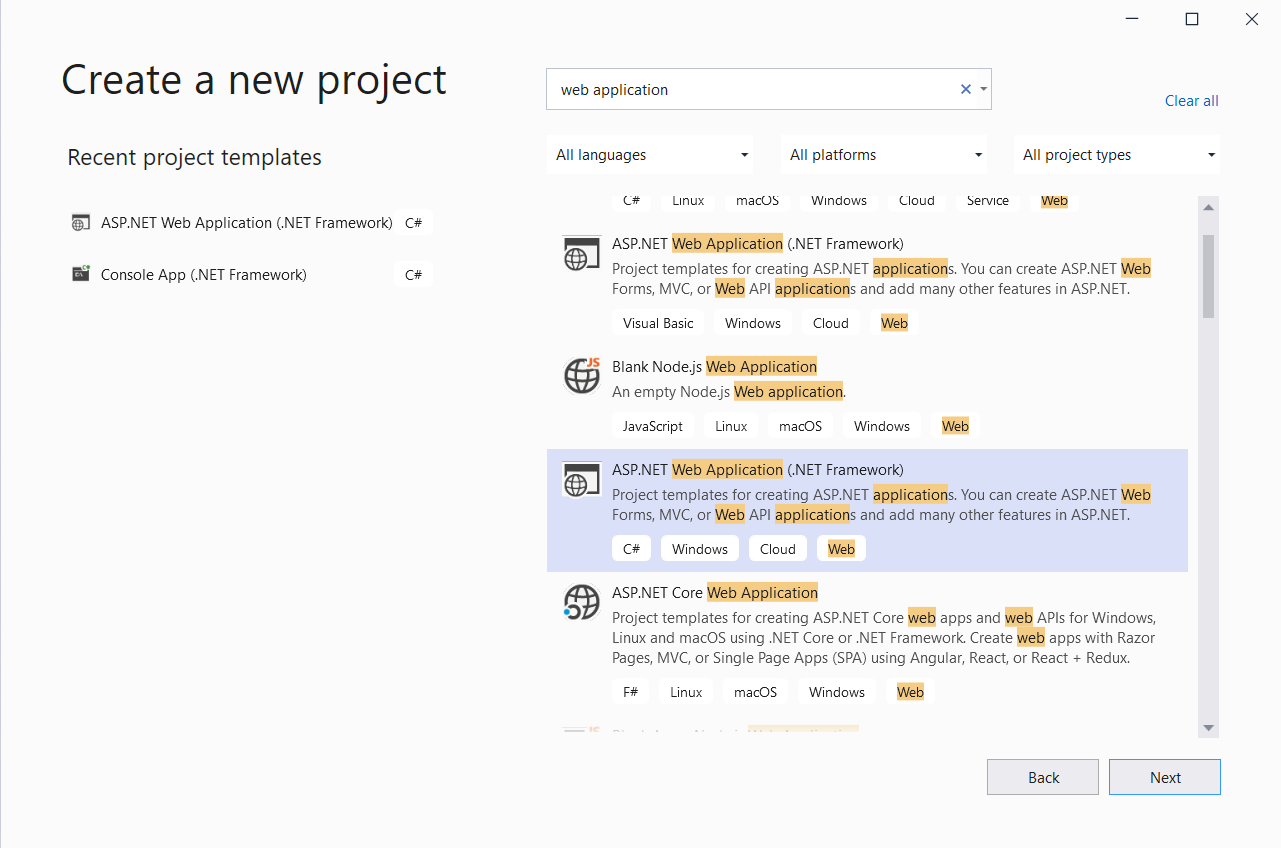
Select “ASP.NET Web Application (.NET Framework)” and click on the Next button.
Also Read: Learning REACT JS – New Technology
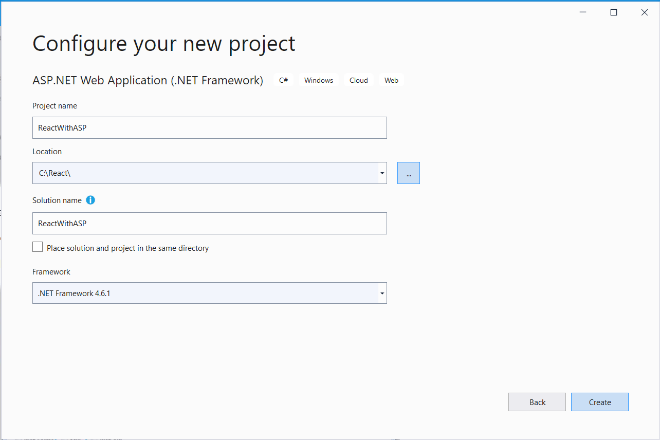
3. Next, the “configure your new project popup” opens, where you have to name your application e.g. ReactWithASPNet. And click on Create button.
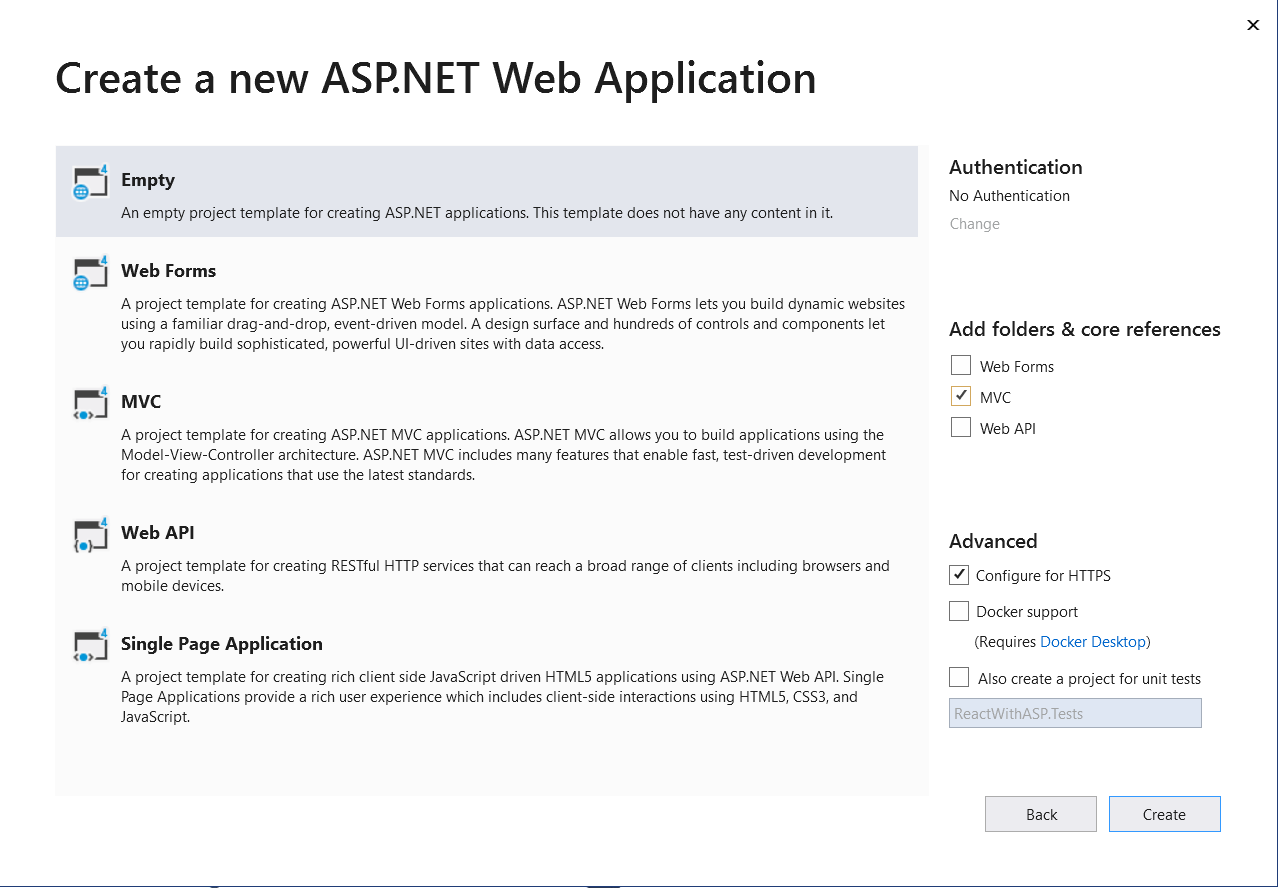
4. On click of Create, a new popup opens – Create a new ASP.NET web Application. Here, select the “Empty” project template from the list of templates and Checkbox “MVC” from “Add folders & core references” on the right-hand side menu. Click the Create button to create the project.
5. A web application is created and we can see the folder structure in the solution as shown below:
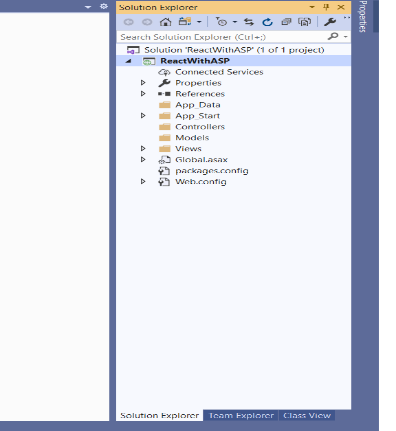
Next, we have to install the required NuGet Package from Manage NuGet Packages.
6. React.js and React.Web.Mvc4 needs to be installed from Manage NuGet Packages.
Right-click on the project “ReactWithASPNet” and select the “Manage NuGet Packages” option.
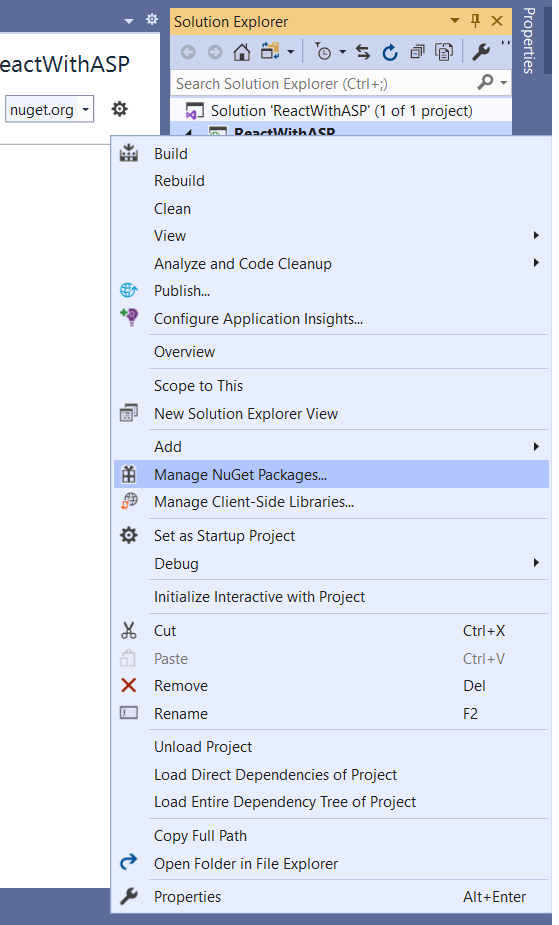
A popup opens, select Browse => Enter Package “React.Web.Mvc4” => Select “React.Web.Mvc4” from search result => click on “Install” button. 3 packages get installed: 1. React.Web.Mvc4, 2. React. Web and 3. React. Core. We will install React.js at a later stage.
7. We have to also install the “System.Web.Optimization.React” package from “Manage NuGet Packages”. 8. Let’s add a controller by right-clicking on the controller folder from the solution.
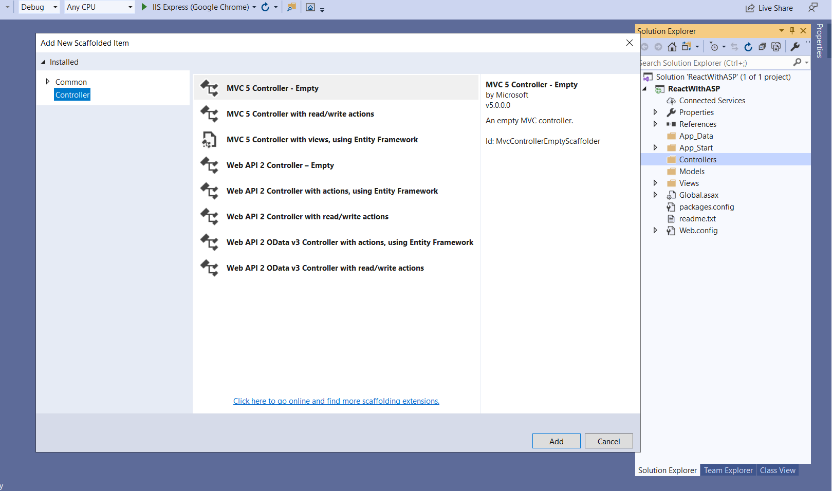
Select the first option from the popup and name the controller as “HomeController”.
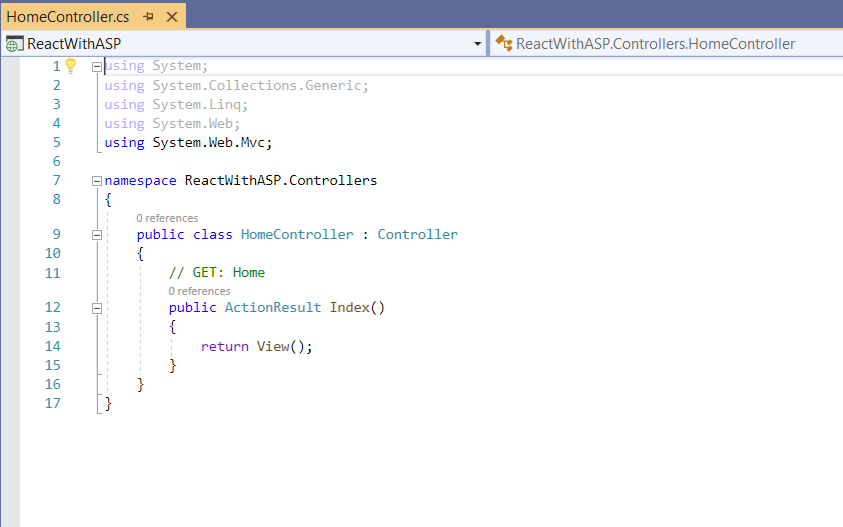
9. Next, right-click on the Index action and click on the “Add view” option. Index.cshtml file gets added under Views => Home folder.
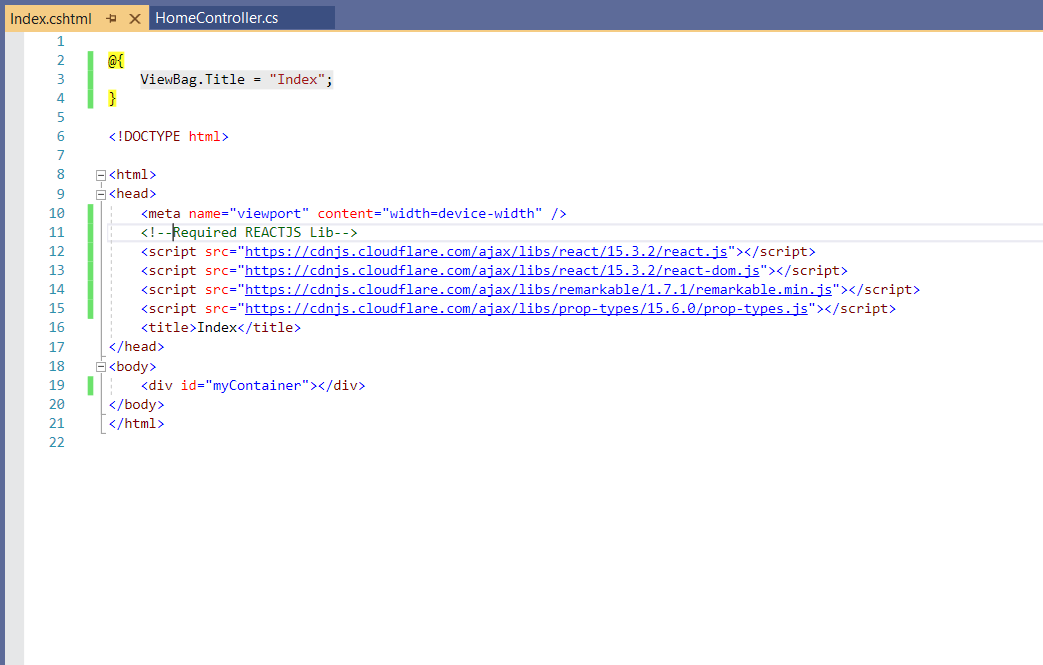
10. Add the below code in Index.cshtml as shown in the screenshot. To bind HelloWorld.JFX, we will add a div with Id= myContainer in the Index.cshtml page.
Also, reference the required react.js library on this page.
11. Now it’s time to add a JFX file i.e., we will create a component that renders Hello World. So, first, create a folder called “Scripts”. Inside Scripts create another folder “React”. Right-click on react folder, Select add items. A popup opens, select Web from the left-hand side and then select JFX template. Name the file as “HelloWorld.JFX”.
Add the below code in the HelloWorld.jsx
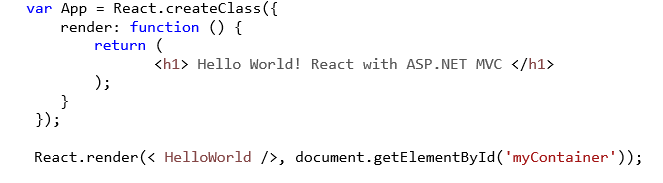
12. Install react.js from Manage NuGet Packages following the same procedure as mentioned above in step 6.
Installed packages will be shown under Scripts => react folder.
13. Add the HelloWorld.jsx in the Index.cshtml page.

14. Build and run the project to get the expected output.
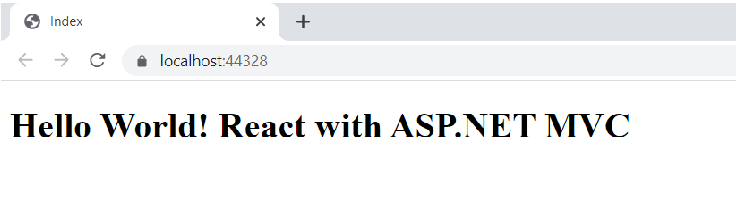
I hope this blog will help you all to increase your knowledge and experience in how to use React with ASP.NET. I had a great experience learning react as I was completely new to it. After many failures in creating a react app, I finally succeeded. Thank you for reading!