Archives
- Newer posts
- November 2025
- October 2025
- September 2025
- August 2025
- July 2025
- June 2025
- May 2025
- November 2024
- April 2024
- November 2023
- October 2023
- August 2023
- May 2023
- February 2023
- October 2022
- August 2022
- July 2022
- May 2022
- April 2022
- March 2022
- February 2022
- June 2020
- March 2020
- February 2020
- January 2020
- December 2019
- November 2019
- October 2019
- September 2019
- August 2019
- July 2019
- June 2019
- May 2019
- April 2019
- March 2019
- February 2019
- January 2019
- December 2018
- November 2018
- October 2018
- September 2018
- August 2018
- July 2018
- June 2018
- May 2018
- April 2018
- March 2018
- February 2018
- January 2018
- December 2017
- November 2017
- October 2017
- September 2017
- August 2017
- July 2017
- June 2017
- May 2017
- April 2017
- March 2017
- February 2017
- January 2017
- August 2016
- June 2016
- April 2016
- March 2016
- February 2016
- January 2016
- July 2015
- June 2015
- Older posts

Zoom Cloud Recording
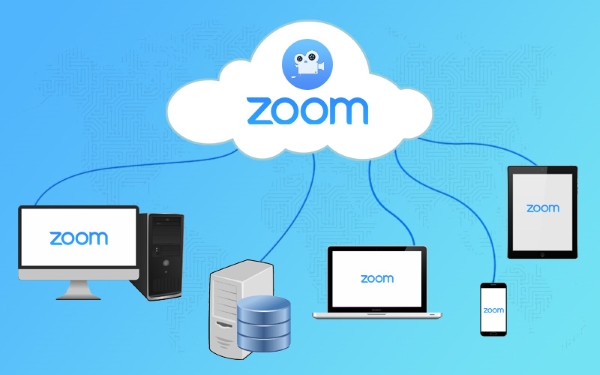
Zoom (https://zoom.us/) provides us a feature called Cloud Recording. Saving to the cloud is always a good option, if multiple people are involved in the process as it gives them all access to the recording.
Cloud recording is auto- enabled for its paid users. If you want to enable auto cloud recording, one can go to Account Settings, navigate to Automatic Recording section and verify the cloud option is turned on or enabled on the Recording tab,. If the setting is turned off or disabled, click the Status toggle to enable it.
When you choose to record a meeting to the cloud, the chat text, video, audio are recorded and this recording can be directly streamed from the browser using Flash or HTML 5.It can also be downloaded to your local computer.
You can sign in to your zoom account and under My Recording section, you will see a list of all recorded meetings from which you can delete, view or share any recorded meeting.
Zoom also provide Developers APIs to manage the cloud recordings. By making use of these APIs, a developer can easily List, Add, Update, Retrieve or Delete recordings from the zoom cloud. Under Zoom developer API references, you will find out all the necessary APIs.
While recording a meeting to the cloud, you can configure the type of file to save.
• Record and save only audio
• Record and save only chat
• Record and save Active speaker with shared screen
• Record and save gallery view with shared screen
• Record both active screen and gallery view with shared screen separately
How to record a meeting to the cloud
• Start a Zoom meeting
• Click the Record button on the right in the Zoom toolbar
• Select Record to cloud from Options in- order to begin with cloud recording
• Click on Pause or Stop or End Meeting to pause, stop or complete the meeting recording.
You can pause or stop the cloud recording at any time whenever you want. You should note however, stopping the recording will split the video and result producing multiple files. So if you want to keep things simple and have a single recording of a meeting, you can just hit Pause and then Resume again.
Once the meeting is ended, the recordings will be converted to an accessible format and the file will be stored in the destination you choose (Zoom Cloud).
The host of the meeting will be notified via email.
Recording a live session is the best and easiest way to create really informative and engaging content for training. Zoom makes it easy to record these sessions for re-sharing. This approach helps in building up informative content for any new member to the team. Zoom recordings also provides audio transcripts which can be useful for keeping track of meeting discussions and writing minutes of the meeting.
It is also very useful for developing online tutorial, The inbuilt feature present in this extension can enhance not only the system but also the user experience.
